Choosing the right artwork or pattern for a custom wall print is exciting. What is less exciting is receiving the finished panels and discovering the image looks soft, grainy or pixelated at close range. This guide explains why that happens and how to prevent it — before you spend a dollar on printing.
Custom digital wall print is one of the most powerful tools in a designer's or hotel owner's toolkit. A single printed wall can transform a lobby, a guestroom feature wall, or a restaurant corner. But unlike paint or a standard wallcovering, a custom print is a one-way commitment: once it is made to your dimensions and artwork, there is no exchange. The single most common reason a print disappoints is a file that was not large enough for the wall it was meant to cover.
What actually determines print quality?
Print quality comes down to one number: DPI — dots per inch. It measures how many pixels from your image file are spread across each inch of the final printed surface. A high-resolution 6000 × 4000 px photograph printed at 1 metre wide will look razor-sharp. The same file stretched to cover a 6 metre wall will look blurry, because each pixel now covers a much larger physical area.
The important thing to understand is that DPI is not fixed in your file — it is calculated from your image dimensions and your intended print size. You cannot know whether your artwork is good enough just by looking at it on a laptop screen. You need to calculate it against the actual wall.
| DPI at print size | What it means for your wall | Verdict |
|---|---|---|
| 300 DPI and above | Crisp at any viewing distance, including close inspection. Suitable for reception desks, lift lobbies, and anywhere guests stand within arm's reach. | Excellent |
| 150 – 299 DPI | Very clear at normal standing distances (50 cm and beyond). Small details are sharp; only visible softness if you press your face to the wall. | Very Good |
| 100 – 149 DPI | Standard quality. Looks great from 1 metre, which covers most guestroom and lounge use cases. Accepted by most designers for home and hotel walls. | Good |
| 72 – 99 DPI | Acceptable only for walls viewed from 1.5 metres or more — a large feature wall at the end of a corridor, for example. Avoid for close-up feature panels. | Fair |
| Below 72 DPI | Visibly pixelated and blurry. The print will not match your preview on screen. Do not print at this resolution. | Too Low |
How to check your artwork in 5 steps — using the WallPrint Inspector
Rather than doing the maths by hand, use the WallPrint Inspector — a free tool built specifically for this workflow. Here is exactly how to use it from catalog to confirmation.
Browse the catalog and pick a print design
Open the Material Supply Pro catalog and find a custom print or mural design you want to use. If you are using your own artwork — a brand graphic, a photograph, or a pattern from a designer — save the highest-resolution version of the file to your device. The larger the file, the better.
Open the WallPrint Inspector tool
Go to materialsupplypro.store/tools/wallprint-inspector/. The tool runs entirely in your browser — no account, no installation, nothing uploaded to a server. Your file stays on your device.
Upload your artwork or use a sample preset
Drag and drop your image into the upload area, or click to browse. You can also click one of the two preset artworks to try the tool immediately. The inspector reads the pixel dimensions of the file automatically — you do not need to enter them manually.
Enter your target wall dimensions
In the Print Dimensions panel on the left, type the width and height of the wall you intend to cover. Switch between metres, centimetres and inches as needed. If you are not sure of your exact wall size, use an approximate figure — you can adjust it at any time and the verdict updates instantly.
Read the Print Quality Verdict
The scorecard at the bottom left shows your effective DPI, a colour-coded rating, and the minimum viewing distance at which the print will look sharp. If the verdict is Good or above, you are ready to order. If it is Fair or Too Low, see the section below on what to do next.
Try the WallPrint Inspector now — it takes 30 seconds
Upload your artwork, set your wall dimensions, and get an instant print quality verdict. Free, browser-based, no signup required.
Open WallPrint InspectorWhat the Room-Scale Preview tells you
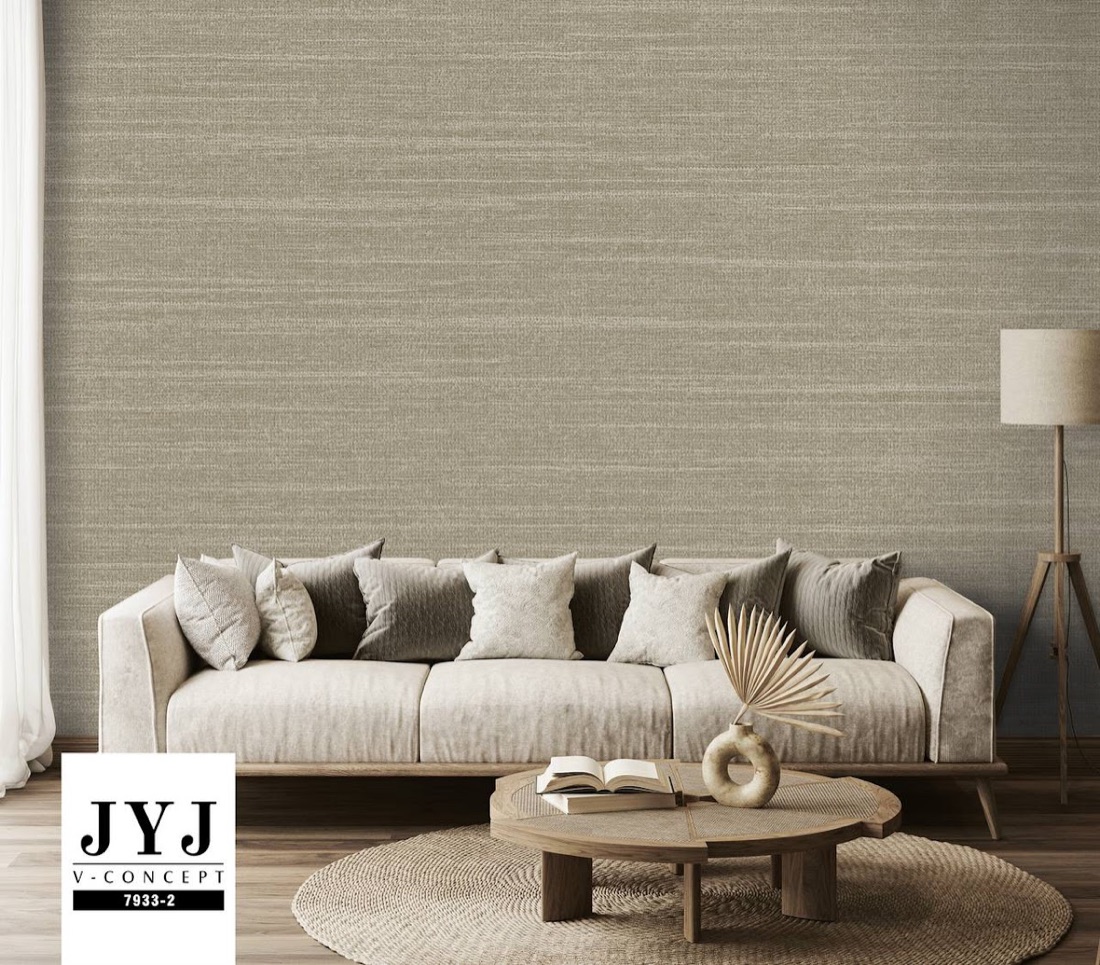
Beyond the DPI score, the Inspector includes a Room-Scale Preview tab that shows your artwork rendered on a wall at the exact proportions you entered. Drag the sofa, person silhouette, and other reference objects in front of the wall to understand scale at a glance — how large the print pattern will appear relative to a seated guest, a standing person, or a piece of furniture.
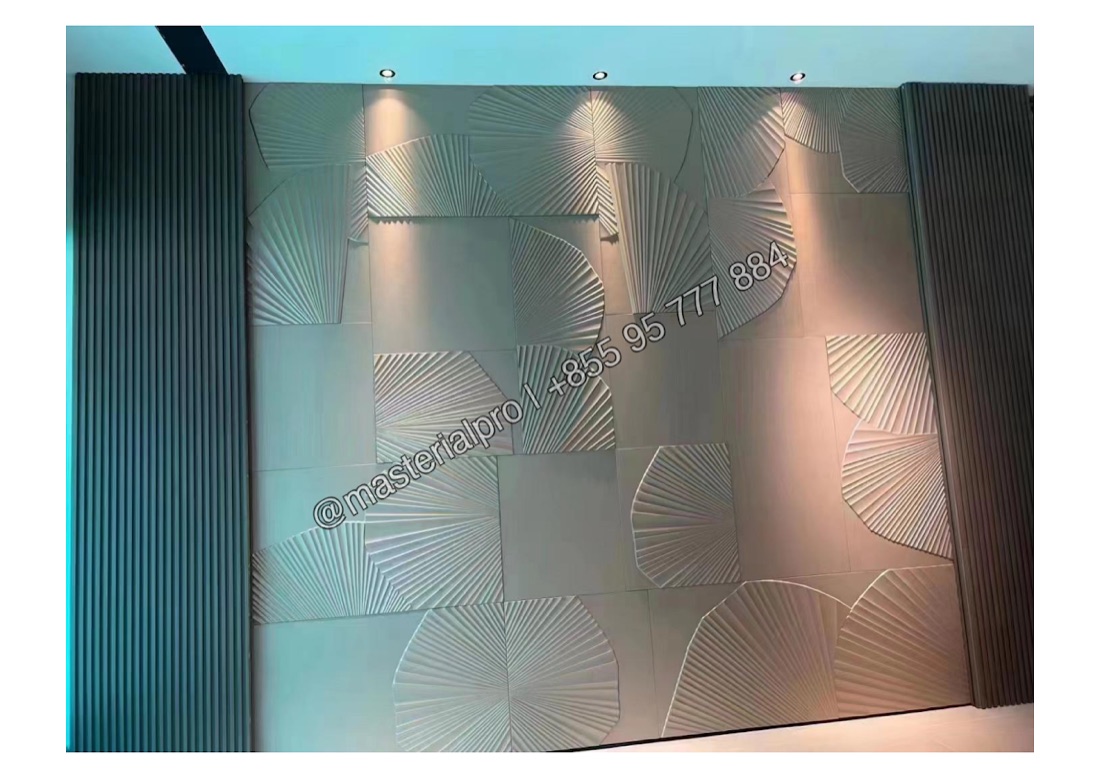
This is particularly useful for repeating patterns. A geometric motif that looks elegant on screen can overwhelm a small room when printed at full wall height. The room preview lets you spot this before production, not after installation.
What to do if the quality verdict is too low
If the Inspector gives you a Fair or Poor result, you have three practical options:
- Reduce the print size. A smaller wall or panel may bring the DPI into an acceptable range. Adjust the width and height in the Inspector until the verdict turns green, and use that as your maximum print size for this file.
- Use a higher-resolution version of the file. Ask your designer, photographer, or brand team for the original export at maximum resolution. A JPEG saved from social media is rarely sufficient. A RAW export or a high-resolution TIFF usually is.
- Request a quote and ask us about AI upscaling. For files that are close to acceptable, modern AI upscaling can increase resolution by 4× with minimal quality loss. Include a note in your quote request and we can advise on whether upscaling will bring your file to the right standard for your intended wall size.
How to find the right print design in our catalog
If you do not have your own artwork, our wallcoverings catalog includes curated custom print and mural designs ready for production. Each entry shows the available material (standard print substrate, self-adhesive, or Type II commercial vinyl for hotels) and can be ordered at any custom size.
To use a catalog design with the Inspector:
- Find a design in the catalog that suits your space.
- Contact us to request the full-resolution artwork file for that design.
- Upload it to the Inspector and enter your wall dimensions.
- Once the verdict is green, include the design reference and wall dimensions in your quote request.
We will confirm the DPI on our end before going to press, and we will let you know if any adjustment is needed before the order is finalised.
A note for interior designers and specification teams
The WallPrint Inspector is designed to be part of your sign-off workflow, not just a curiosity. Before you present a custom wall print to a client or submit a specification, run the file through the tool and attach a screenshot of the verdict to your project notes. It takes under a minute and removes the most common source of last-minute surprises — the client approving artwork at screen size without understanding how it will look at 3 metres wide.
If you work on multiple hotel or hospitality projects, ask about our Trade Program. Trade partners receive file review as a standard part of the order process, priority turnaround on quotes, and better pricing on volume orders.